그래, 갈때가지 가보자.
기왕하는 virtual machine이니 최신 경향에 맞춰 설치를 해보자하는 욕심이 생길 수 있다.
nginx(apache 대용), php(fastcgi), mariaDB(mysql 대용)를 설치하고 거기에 워드프레스를 설치하면 속도가 조금더 빨라질 지도 모를 일이다.
1) 이전 글의 1) ~ 5) 까지 절차를 수행한다.
2) nginx를 설치한다. nginx를 설치하려면 repository를 추가하여야 한다. http://wiki.nginx.org/Install을 참고한다. /etc/yum.repos.d 디렉토리로 가서 nginx.repo 파일을 생성하고 아래 내용을 붙여 넣는다.
|
1 2 3 4 5 6 7 |
[root@skemp ~]# cd /etc/yum.repos.d/ [root@skemp yum.repos.d]# cat > nginx.repo [nginx] name=nginx repo baseurl=http://nginx.org/packages/centos/$releasever/$basearch/ gpgcheck=0 enabled=1 |
그리고 yum으로 nginx를 설치한다.
|
1 |
[root@www ~]# yum install nginx |
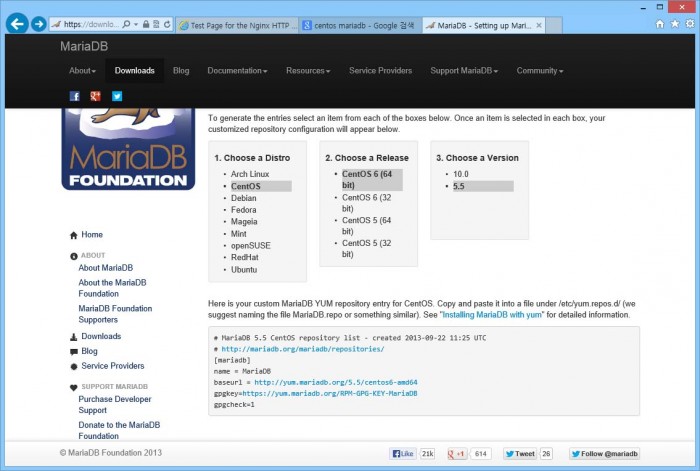
3) mariaDB를 설치하기 위해서는 https://downloads.mariadb.org/mariadb/repositories/ 에서 각 OS별로 설치법을 참조한다.

/etc/yum.repos.d/ 로 이동해서 maria.repo 처럼 repository 파일을 생성하고, 아래처럼 repository list를 copy해서 넣는다.
|
1 2 3 4 5 6 7 8 9 |
[root@www nginx]# cd /etc/yum.repos.d/ [root@www yum.repos.d]# cat > maria.repo # MariaDB 5.5 CentOS repository list - created 2013-09-22 11:26 UTC # http://mariadb.org/mariadb/repositories/ [mariadb] name = MariaDB baseurl = http://yum.mariadb.org/5.5/centos6-amd64 gpgkey=https://yum.mariadb.org/RPM-GPG-KEY-MariaDB gpgcheck=1 |
4) mariaDB를 설치한다.
|
1 |
[root@www init.d]# yum install MariaDB-server MariaDB-client |
5) php(fast cgi)를 설치한다. 기존처럼 php를 설치하고, 추가로 php-fpm을 설치한다. 잠깐 php-mysql이라고? mariaDB라고 하지 않았나?
고갱님, 당황하셨어요? 저희도 mariaDB가 mysql 호환이라 무척 당황했습니다.

|
1 |
[root@www init.d]# yum install php php-mysql php-fpm |
6) 이전 글의 8) 내용처럼 해서 방화벽 open을 해준다.
7) 웹서버, mariaDB 서버, php(fast cgi)를 실행시킨다. (mariaDB는 mysql로 다 실행이 됨)
|
1 2 3 4 5 6 7 8 9 |
[root@www ~]# service nginx restart nginx 를 정지 중: [ OK ] nginx (을)를 시작 중: [ OK ] [root@www ~]# service mysql restart Shutting down MySQL. SUCCESS! Starting MySQL.. SUCCESS! [root@www ~]# service php-fpm restart php-fpm 를 정지 중: [ OK ] php-fpm (을)를 시작 중: [ OK ] |
또한, 부팅시 자동으로 실행되도록 chkconfig로 등록한다.
|
1 2 3 4 5 6 7 8 9 10 11 12 13 14 15 16 17 18 19 20 21 22 |
[root@www ~]# chkconfig | grep nginx nginx 0:해제 1:해제 2:해제 3:해제 4:해제 5:해제 6:해제 [root@www ~]# chkconfig | grep mysql mysql 0:해제 1:해제 2:해제 3:해제 4:해제 5:해제 6:해제 [root@www ~]# chkconfig | grep php-fpm php-fpm 0:해제 1:해제 2:해제 3:해제 4:해제 5:해제 6:해제 [root@www ~]# chkconfig | grep nginx nginx 0:해제 1:해제 2:해제 3:해제 4:해제 5:해제 6:해제 [root@www ~]# chkconfig | grep mysql mysql 0:해제 1:해제 2:활성 3:활성 4:활성 5:활성 6:해제 [root@www ~]# chkconfig | grep php-fpm php-fpm 0:해제 1:해제 2:해제 3:해제 4:해제 5:해제 6:해제 [root@www ~]# chkconfig nginx on [root@www ~]# chkconfig mysql on [root@www ~]# chkconfig php-fpm on [root@www ~]# chkconfig | grep nginx nginx 0:해제 1:해제 2:활성 3:활성 4:활성 5:활성 6:해제 [root@www ~]# chkconfig | grep mysql mysql 0:해제 1:해제 2:활성 3:활성 4:활성 5:활성 6:해제 [root@www ~]# chkconfig | grep php-fpm php-fpm 0:해제 1:해제 2:활성 3:활성 4:활성 5:활성 6:해제 |
8) 이전 글의 10)의 절차를 수행한다.
9) nginx의 configuration을 수정해야한다. /etc/nginx/conf.d 디렉토리의 default.conf를 수정한다.
|
1 2 |
[root@www ~]# cd /etc/nginx/conf.d/ [root@www conf.d]# vi default.conf |
아래 주황색 표시는 nginx에서 php를 사용하기 위해서 추가 혹은 변경해야 되는 내용이다. 그리고, 파란색 내용은 워드프레스에서 rewrite(고유주소) 기능을 사용하기 위해 추가해야 되는 내용이다. 워드프레스를 웹의 root directory에 설치하는 경우는 location / 안의 파란색 내용을, 서브디렉토리에 설치하는 경우는 location /wordpress 이하 내용을 참조하여 수정하면 된다.(wordpress 대신 설치한 서브디렉토리 이름으로 변경)
|
1 2 3 4 5 6 7 8 9 10 11 12 13 14 15 16 17 18 19 20 21 22 23 24 25 26 27 28 29 30 31 32 33 34 35 36 37 38 39 40 41 42 43 44 45 46 47 48 49 50 51 52 53 54 55 56 57 58 |
# # The default server # server { listen 80 default_server; server_name _; #charset koi8-r; #access_log logs/host.access.log main; location / { root /usr/share/nginx/html; index index.html index.htm <span style="color: #ff6600;">index.php</span>; <span style="color: #0000ff;"> # rewrite. root directory에 워드프레스를 설치한 경우 try_files $uri $uri/ /index.php?q=$uri&$args; </span> } <span style="color: #0000ff;"> # rewrite. 서브디렉토리(/wordpress)에 워드프레스를 설치한 경우 location /wordpress/ { index index.html index.htm index.php; try_files $uri $uri/ /wordpress/index.php?q=$uri&$args; } </span> error_page 404 /404.html; location = /404.html { root /usr/share/nginx/html; } # redirect server error pages to the static page /50x.html # error_page 500 502 503 504 /50x.html; location = /50x.html { root /usr/share/nginx/html; } # proxy the PHP scripts to Apache listening on 127.0.0.1:80 # #location ~ \.php$ { # proxy_pass http://127.0.0.1; #} # pass the PHP scripts to FastCGI server listening on 127.0.0.1:9000 # <span style="color: #ff6600;"> location ~ \.php { root html; fastcgi_pass 127.0.0.1:9000; fastcgi_index index.php; fastcgi_param SCRIPT_FILENAME /usr/share/nginx/html$fastcgi_script_name; include fastcgi_params; } </span> # deny access to .htaccess files, if Apache's document root # concurs with nginx's one # #location ~ /\.ht { # deny all; #} } |
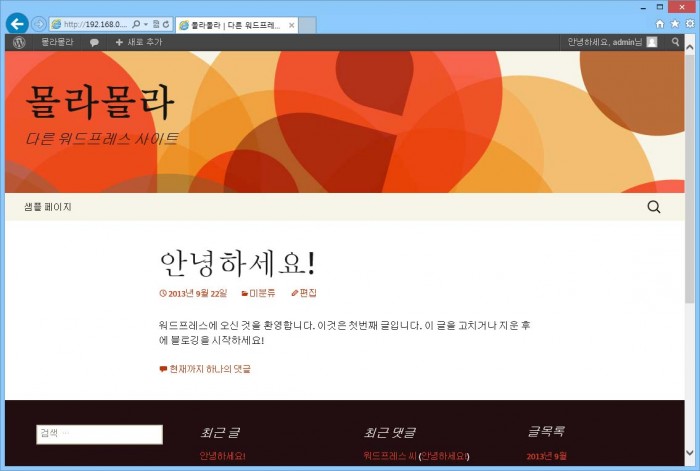
10) 이전 글의 13) 이하의 작업을 하면 된다.
변경된 점은 웹 초기 디렉토리가 /usr/share/nginx/html 이라는 것과, 계정 및 그룹 명이 apache가 아닌 nginx라는 점이다.
|
1 2 |
[root@www ~]# cd /usr/share/nginx/html/ [root@www html]# |
|
1 2 |
[root@www html]# chown -R nginx wordpress/ [root@www html]# chgrp -R nginx wordpress/ |
또한 이상하게 초기 설치 시 wp-config.php를 기록하지 못하는데, 이는 설치 시 wp-config.php 내용을 긁어서 해당 디렉토리에 파일을 만들던지 잠시만 wordpress디렉토리의 permission을 777 로 변경시키면 된다. 설치 이후에는 다시 permission을 755로 변경시키자.
|
1 |
[root@www html]# chmod 777 wordpress/ |

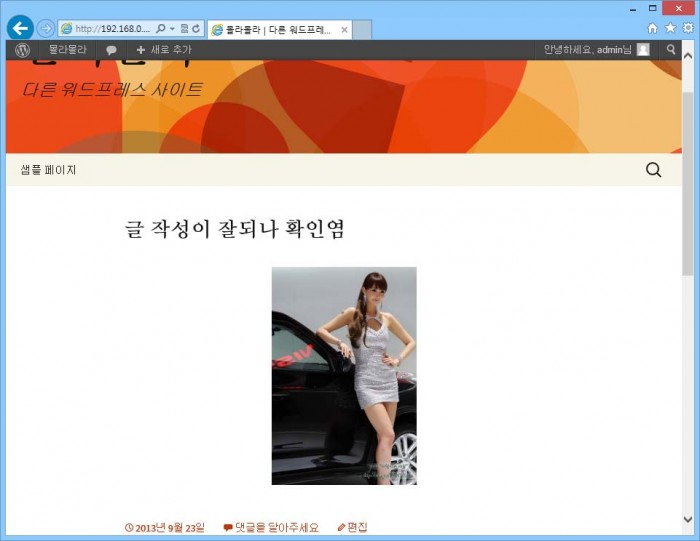
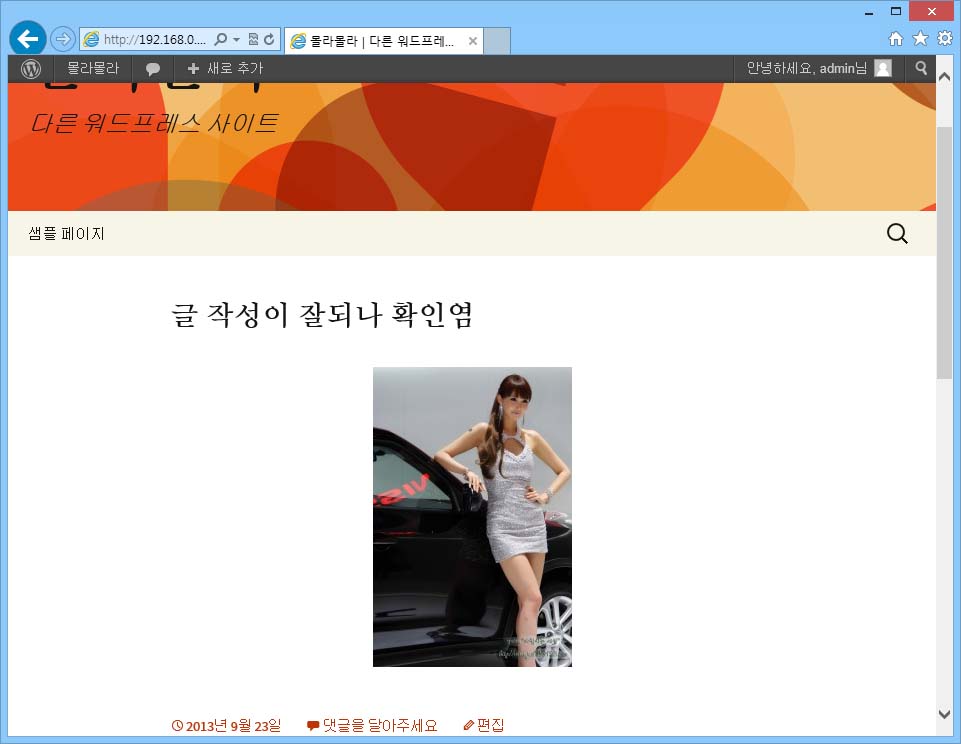
11) 글이 잘써지나 확인했는데, 잘되는 군요.


